Setting up AlienVoIP with A401 IP PBX
|
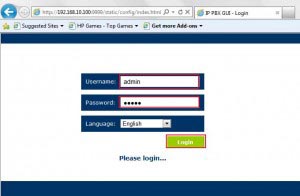
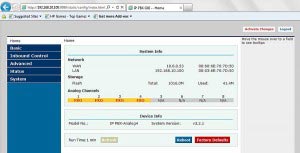
1. Go to http://yournetworkipaddress:9999/static/config/index.html (e.g. http://192.168.10.100:9999/static/config/index.html), and login to your IP-PBX using your username and password as shown below. Username: admin | 2. When you have successfully logged in, your browser will divert to the configuration pages. |
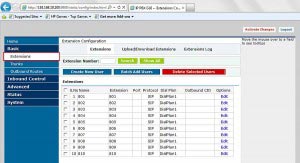
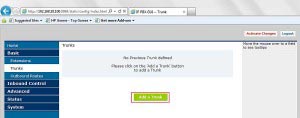
| 3. You may add your extensions in the “Extensions” page at “Basic > Extensions”. | 4. At the side menu, go to “Basic > Trunks”. You will be notified that the trunk is empty, click on “Add a Trunk” button. |
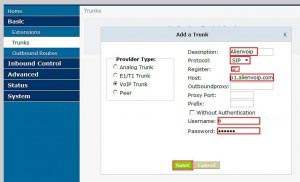
| 5. On Provider Type, select VoIP Trunk. on the right column, please follow the information as below: | After filling in the necessary details, click “Save” to save your settings. |
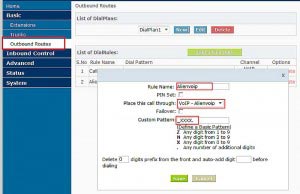
| 6. Go to “Basic > Outbound Routes” and click “Add a Dial Rule”. A form will pop up. Key in the information as below: | 7. Finally, click on “Activate Changes” button on top right corner of the page. |

